This article contains affiliate links. As an Amazon Associate I earn from qualifying purchases.
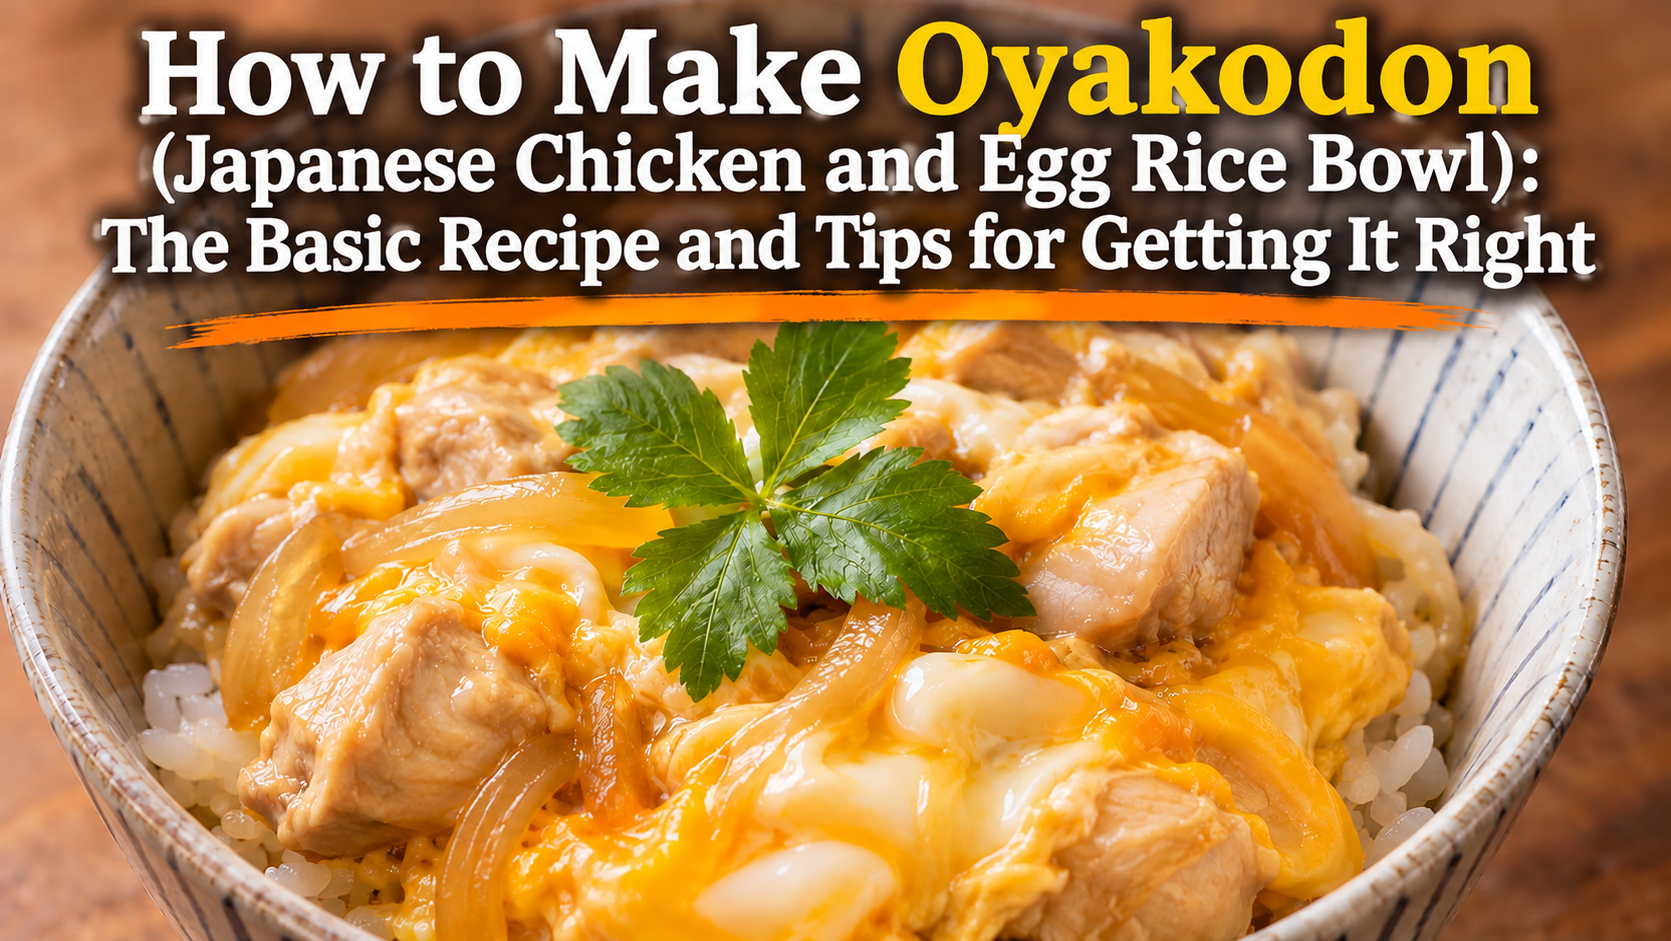
Oyakodon, a Japanese rice bowl of chicken and egg simmered in a savory-sweet broth, depends on two things: adding the egg in two stages and taking it off the heat while it is still half set. This is a basic recipe for two servings with chicken thigh and onion, along with tips for getting it right.
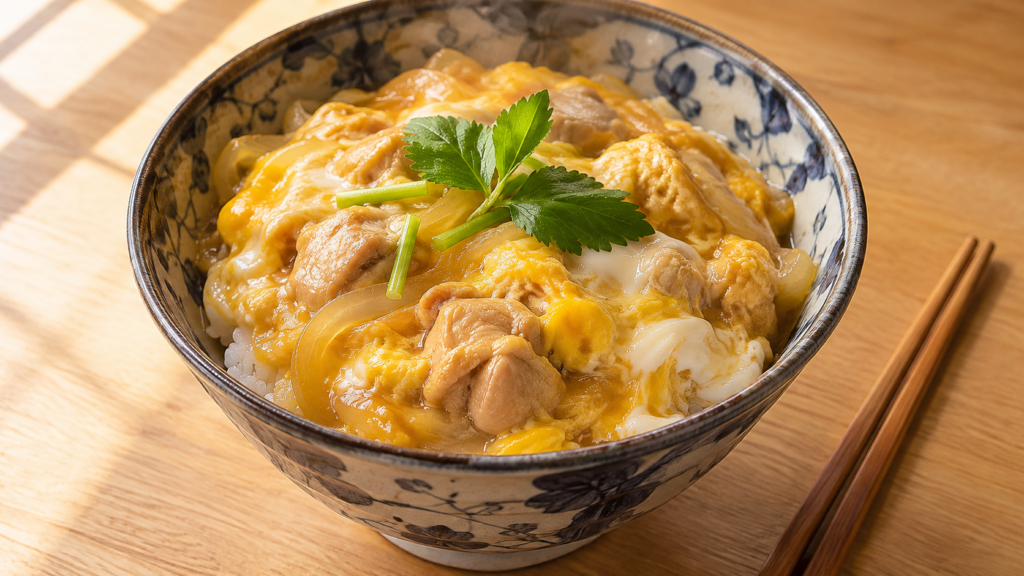
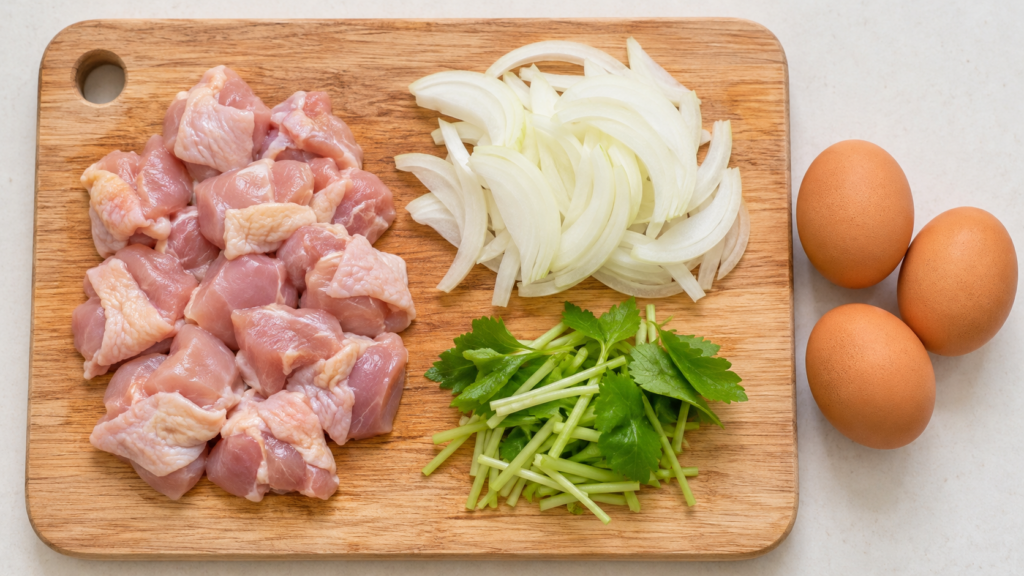
Ingredients (2 servings)
- Boneless chicken thigh: 1 piece (about 200 g)
- Onion: 1/2 (about 100 g)
- Eggs: 3
- Mitsuba (Japanese parsley, a mild herb): 1/4 bunch
- Cooked Japanese rice: 2 large bowls (about 400 g)
- Dashi (Japanese soup stock): 120 ml
- Soy sauce: 2 tbsp
- Mirin (sweet rice wine for cooking): 1 tbsp
- Sugar: 1/2 tbsp
You can replace the dashi with 120 ml of water and 1/3 tsp of instant dashi granules. Chicken breast also works, and thin green onions can stand in for the mitsuba.
Instructions
1. Cut the ingredients
Trim the excess fat from the chicken and cut it into small bite-size pieces. Slice the onion 5 mm thick, and cut the mitsuba into 3 cm lengths.
2. Beat the eggs
Crack the eggs into a bowl and beat them lightly with chopsticks, leaving a few lumps of egg white.
3. Simmer the chicken and onion
Put the dashi, soy sauce, mirin and sugar in a small frying pan and bring to a boil over medium heat. Add the chicken and onion, and skim off any foam when it returns to a boil. Simmer over medium heat for about 3 minutes, until the chicken is cooked through.
4. Add half the egg
With the broth boiling, pour in half the egg, moving in a circle from the center outward. Cover and cook for about 30 seconds, until the egg starts to set around the edges.
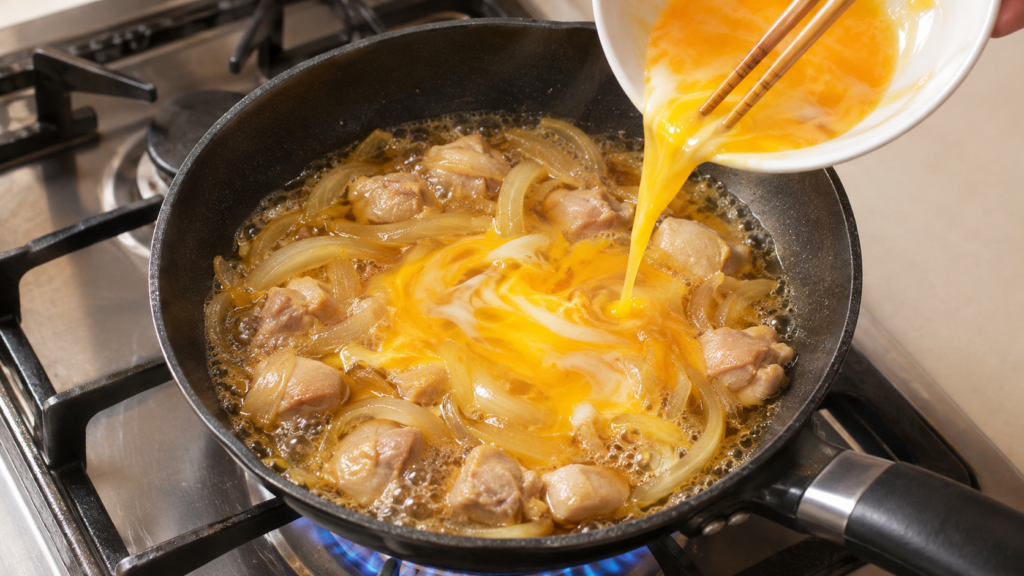
5. Add the rest of the egg and let it steam
Pour in the remaining egg, scatter the mitsuba on top, and turn off the heat. Cover and let it steam for about 1 minute.
6. Serve over rice
Divide the rice between two bowls. Ladle half the chicken and egg over each, then spoon over the broth left in the pan.
Tips for getting it right
Do not overbeat the eggs
Cutting through the whites two or three times with chopsticks is enough. It is fine if lumps of white remain.
Wait until the broth is boiling
If the broth is not hot enough, the egg will not turn out fluffy, so check that it is boiling just before you pour. Pouring from the center evens out the cooking, because the outer part of the pan runs hotter.
Add the egg in two stages
When the second pour goes on top of egg that has started to set, set and half-set layers overlap, and the result is soft and creamy.
Do not overcook the chicken
Chicken turns tough if it is cooked too long. Add it to boiling broth, and move on to the egg once it is cooked through.
Cook the rice on the firm side
Firmer rice soaks up the broth well and takes on the flavor.
Troubleshooting
The egg set hard and turned crumbly. It was cooked too long. Lift the lid to check during steaming, and serve while the egg is still half set.
The egg is too runny. Keep the lid on and let it steam longer, until it reaches the firmness you like.
The chicken is tough. It simmered too long. Cut the chicken small and add the egg as soon as it is cooked through.
The flavor is too strong. The broth has reduced too far. Taste it before adding the egg, and if it is too strong, add a little dashi or water.
The rice is soggy. Either the rice is too soft or there is too much broth. Cook the rice firmer and spoon on less broth.
Related products
You can find books and products related to this article on Amazon.
If you buy through the links above, this blog may earn a commission.
About the images
The images in this article are illustrations created with AI (ChatGPT), and you are welcome to use them. If you do, we would appreciate a link back to this article as the source.
Sources
- Kikkoman Home Cooking, classic oyakodon (in Japanese)
- Kikkoman Home Cooking, basic Japanese-style oyakodon (in Japanese)
- Ajinomoto Park, basic oyakodon with soft egg (in Japanese)
- Minna no Kyou no Ryouri, oyakodon by Nobuko Shimizu (in Japanese)
- Minna no Kyou no Ryouri, oyakodon by Harumi Kurihara (in Japanese)
- Minna no Kyou no Ryouri, oyakodon by Tokiko Suzuki (in Japanese)
- Minna no Kyou no Ryouri, oyakodon by Takuji Takahashi (in Japanese)
- Delish Kitchen, basic oyakodon (in Japanese)
- JRE Media, oyakodon with soft egg, from Orange Page (in Japanese)


コメント